Choose a Brand


Installation Wayne-Dalton
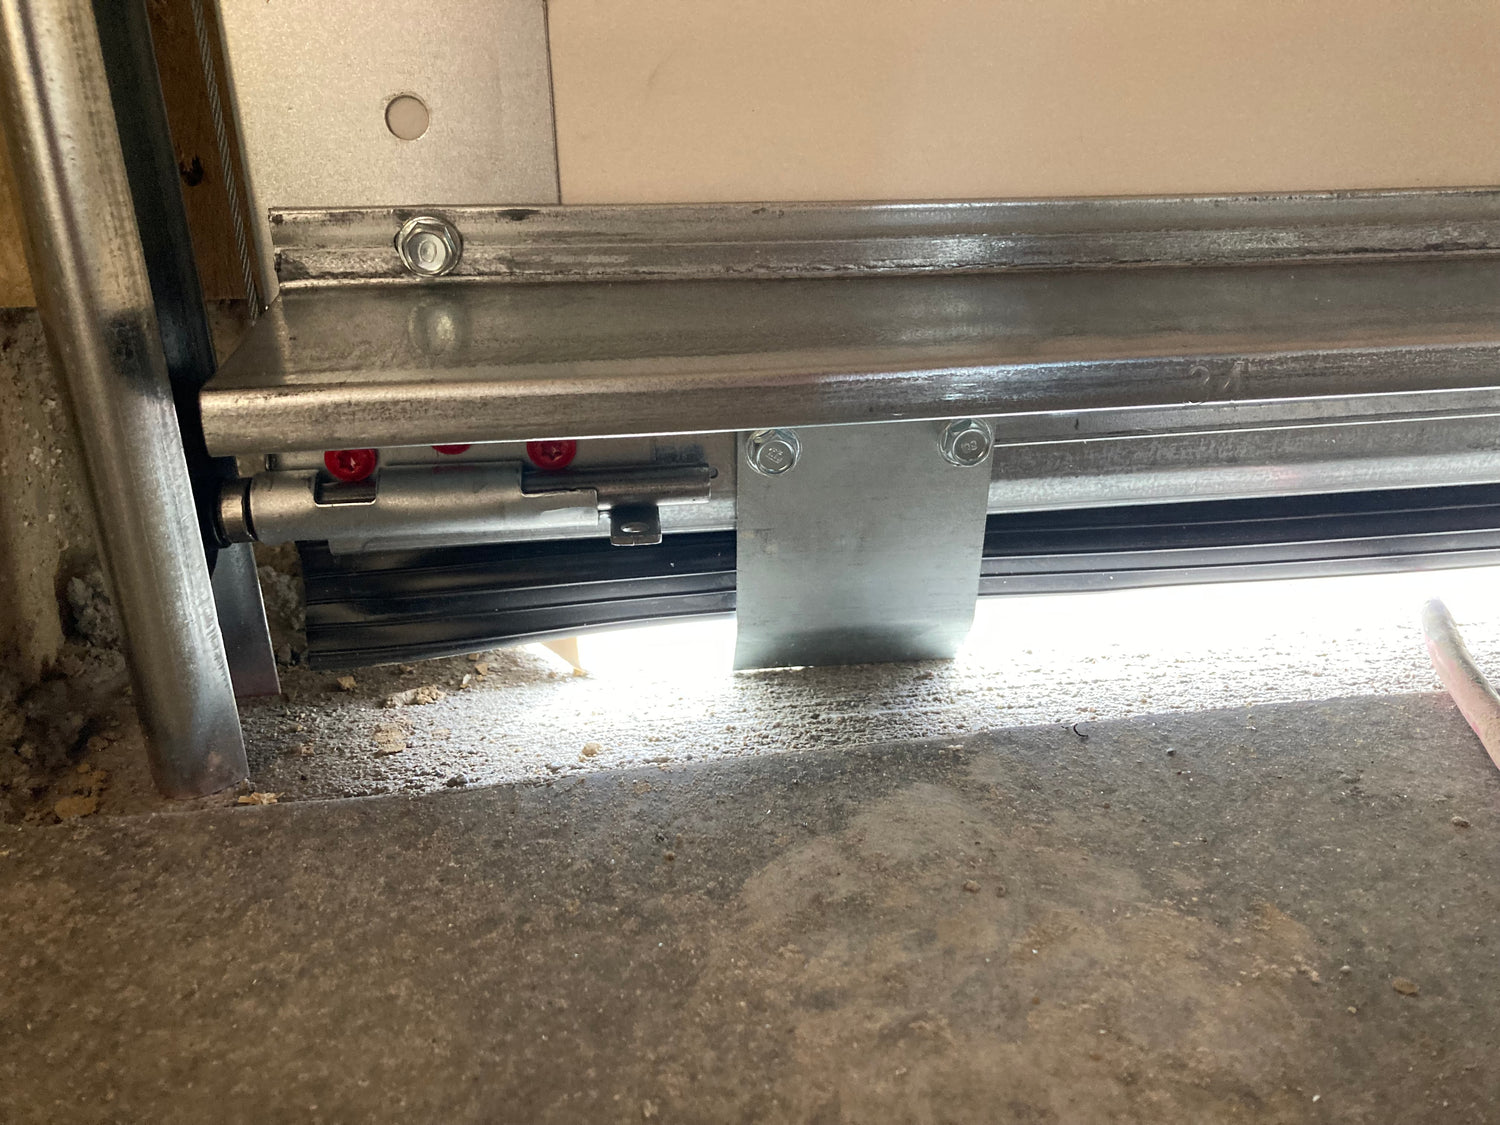
Step 1
- Align the side of the Bottom Bumper bracket next to the lower roller bracket.
- Align the top of the Bottom Bumper bracket to the door rib
- Make sure the foot of the bracket goes away from you (under the door)

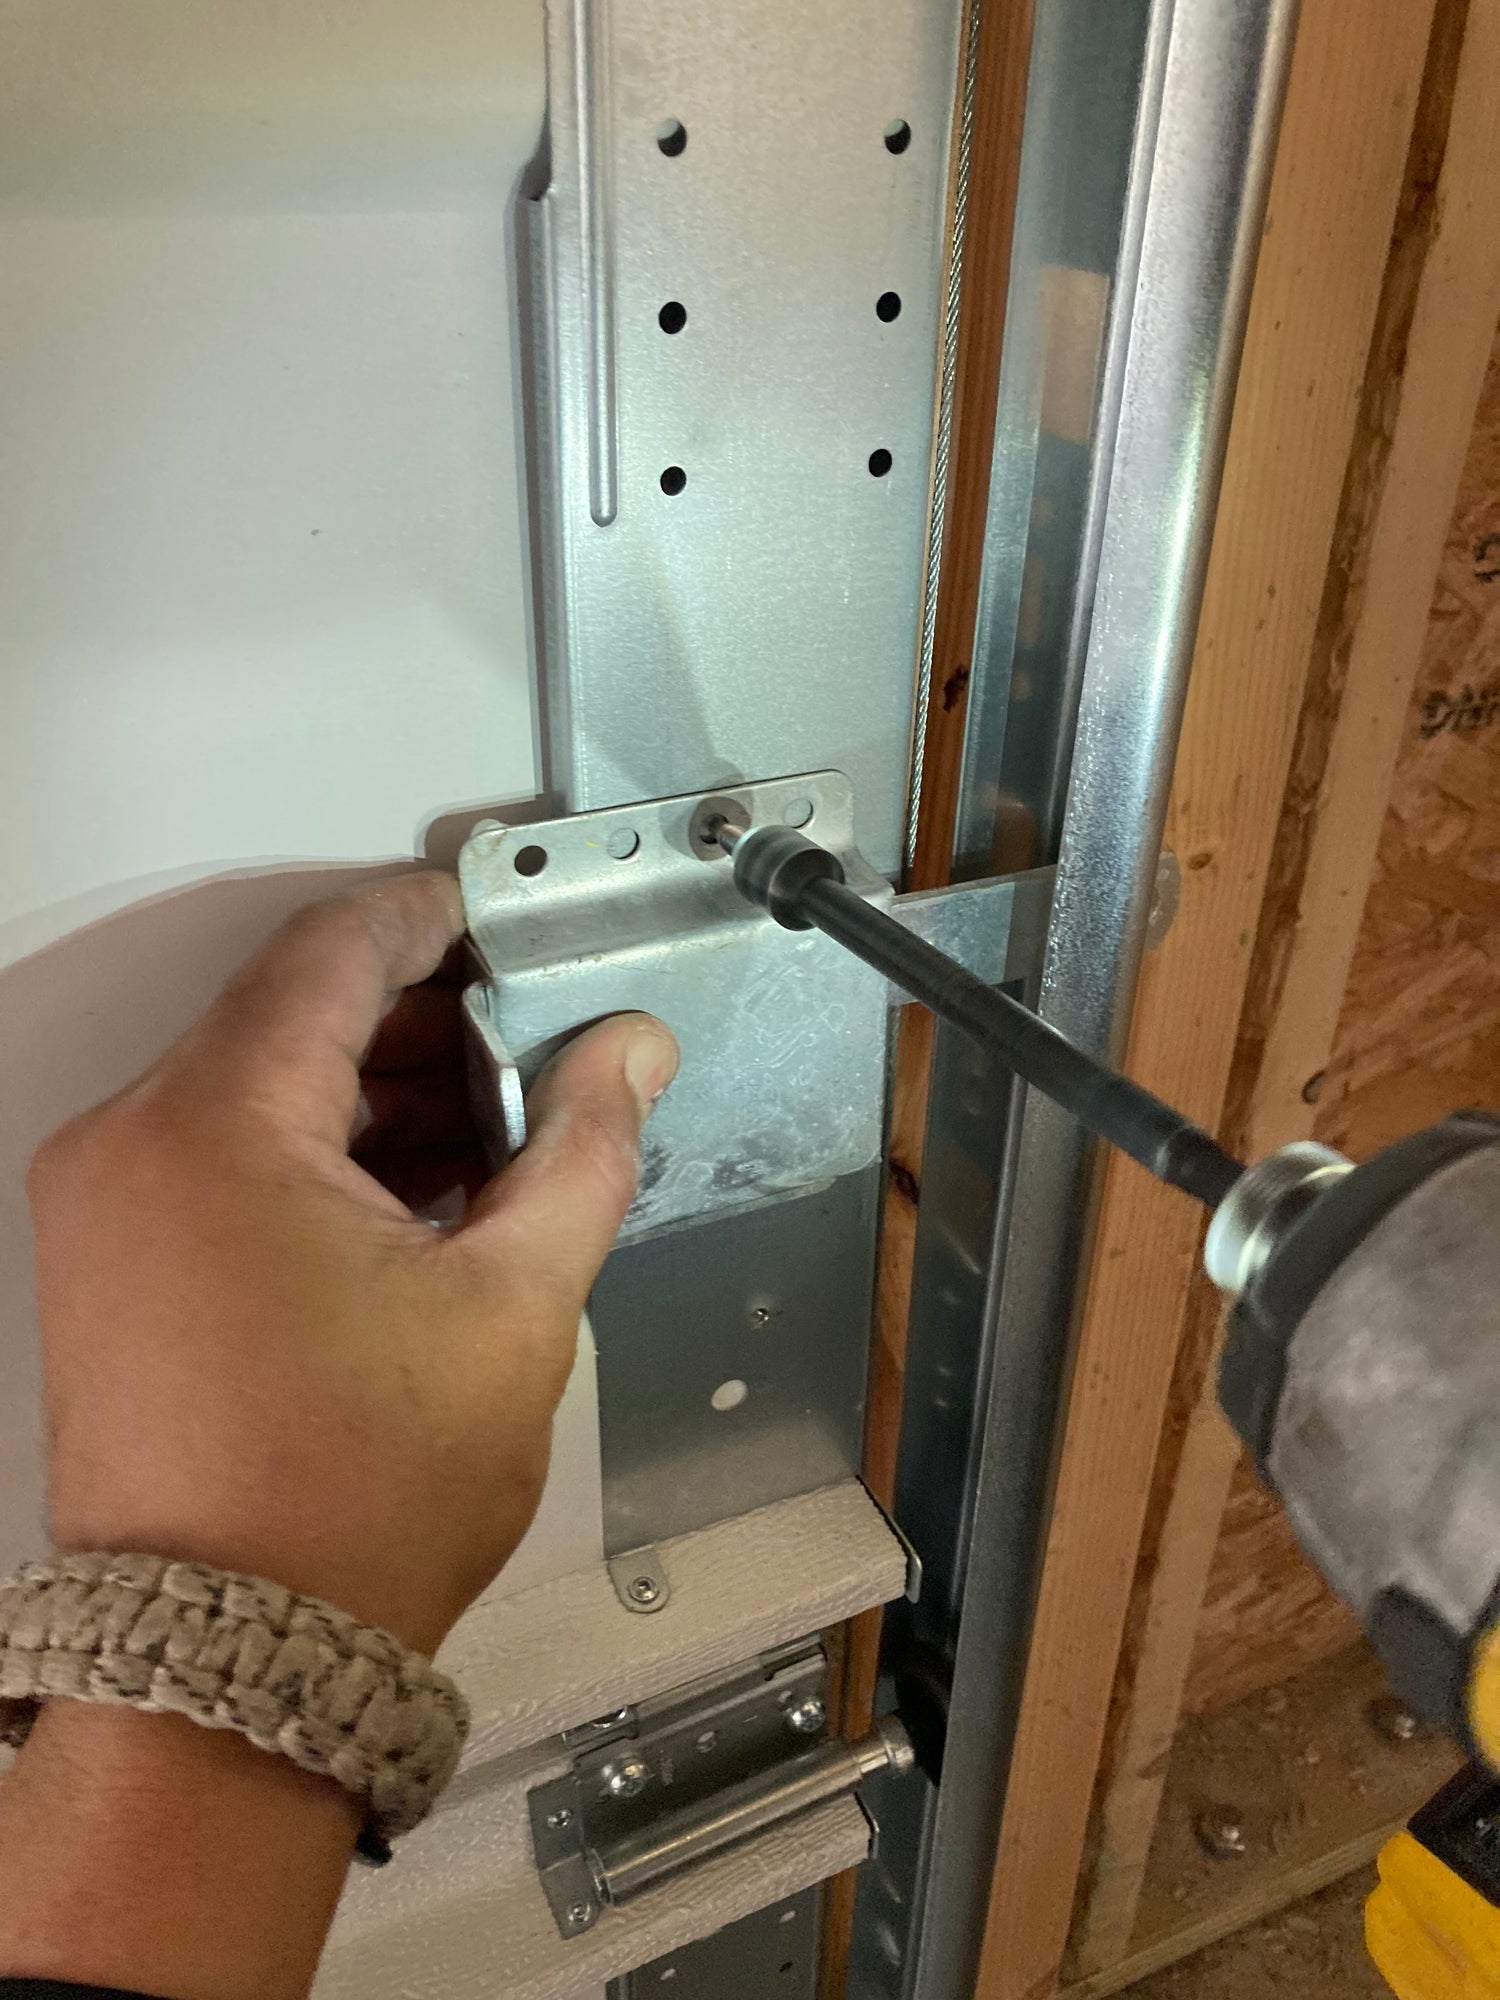
Step 2
- Fasten the BOTTOM BUMPER bracket with (2) screws 5/16" self-tapping hex head screws.
Step 3
- Repeat Steps 1-2 for the opposite side of the door.
Step 4
- Continue with the manufacturers instructions to install the latch.
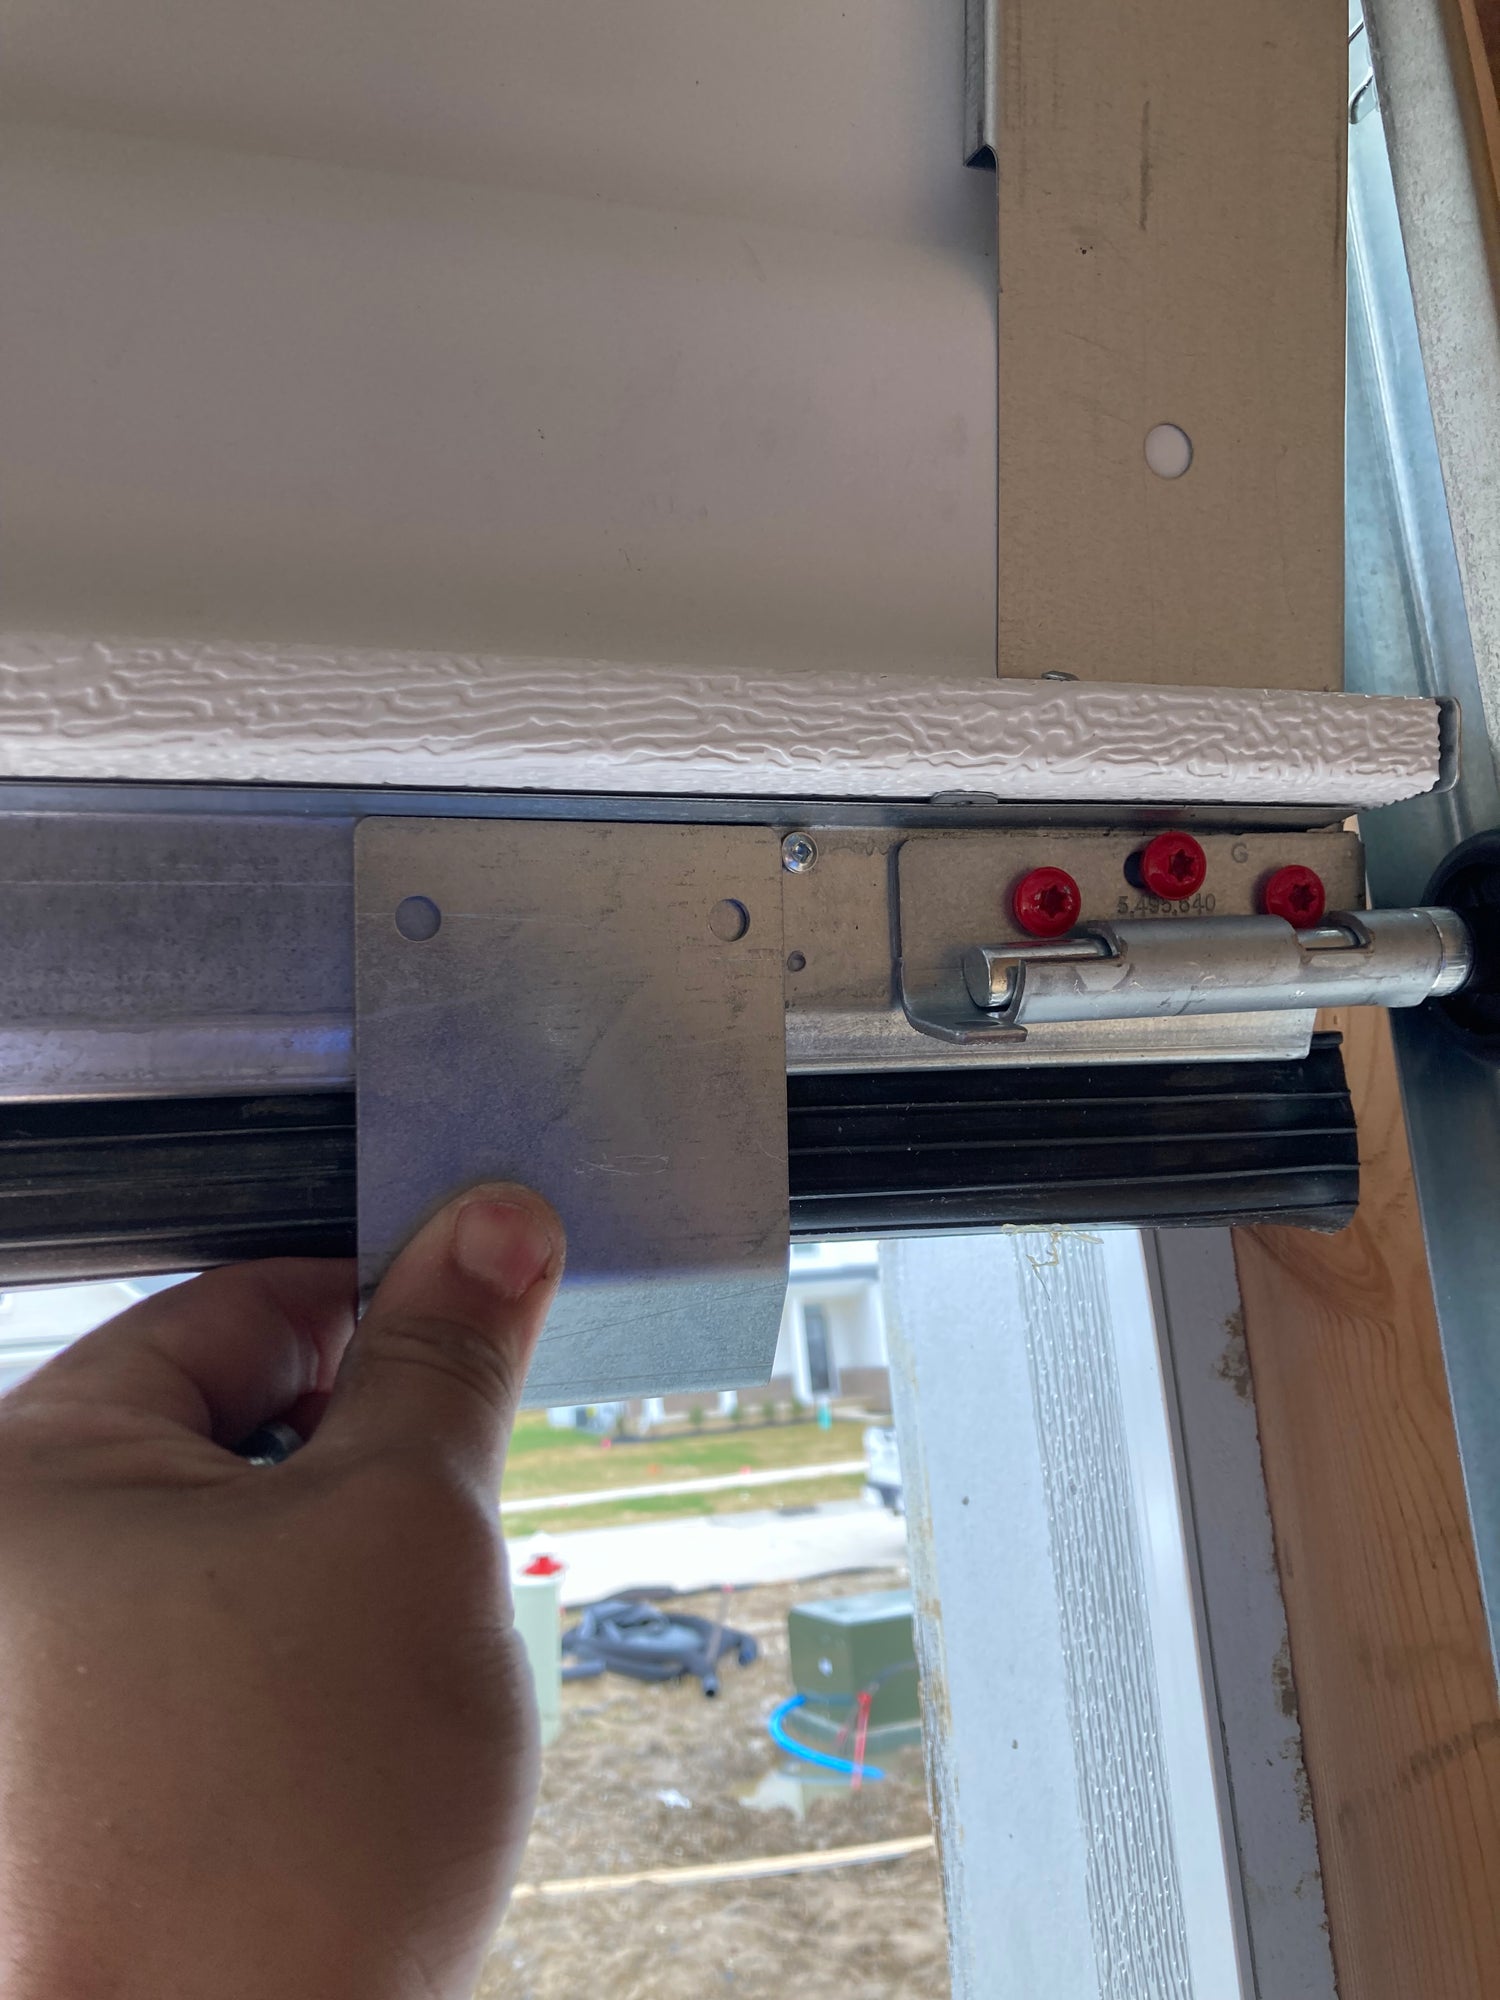
Installation Instructions for Clopay Doors
Step 1
- Slide the Bottom Bumper up from the bottom of the door; behind the roller pin
- Make sure the foot of the bracket goes away from you (under the door)
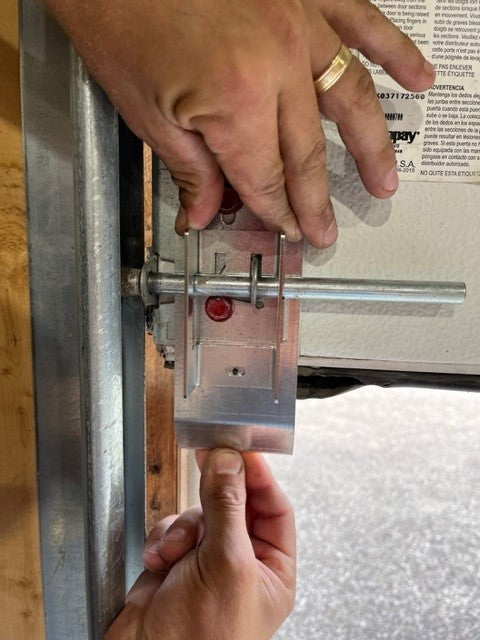
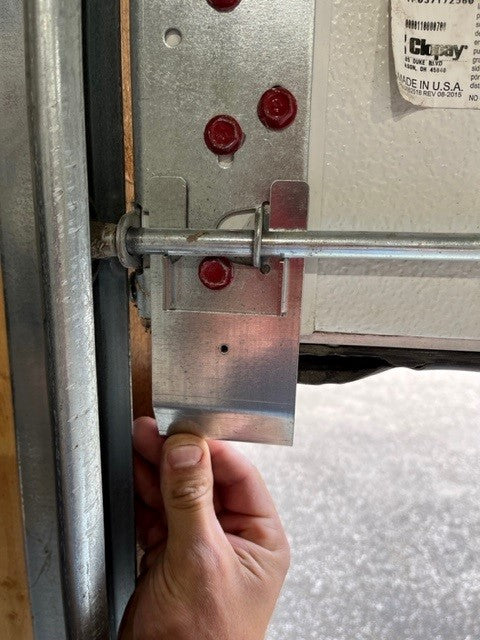
Step 2
Install the retainer bracket from the top and align the mounting holes on both brackets.
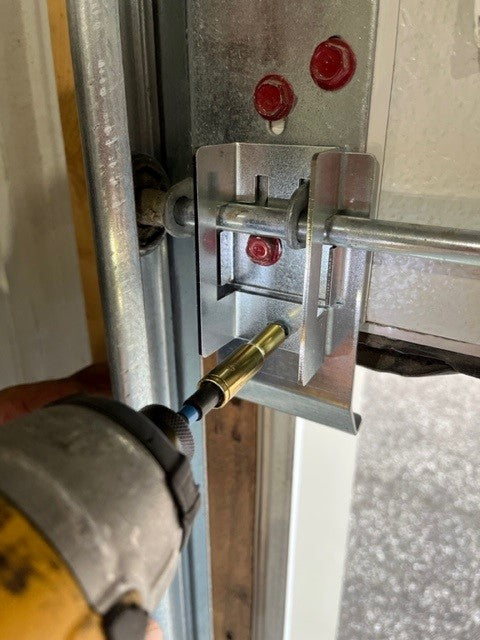
Step 3
• Insert the provided self-tapping screw into the mounting hole.
• Verify the bracket is secured around the pin.
(Repeat all steps for the opposite side of the door)